How to Create a WordPress Staging Site and Test Updates Safely
in How To’s, Plugins, Website Building, WordPress on August 28, 2026A staging site is a private copy of your live WordPress website. It lets you test updates and design changes without risking the website customers currently use. The staging copy is not the final website; it is a safe practice area.
What you need before starting
- Hosting or a staging plugin
- Administrator access
- A fresh production backup
- Enough storage for a site copy
- A written list of features to test
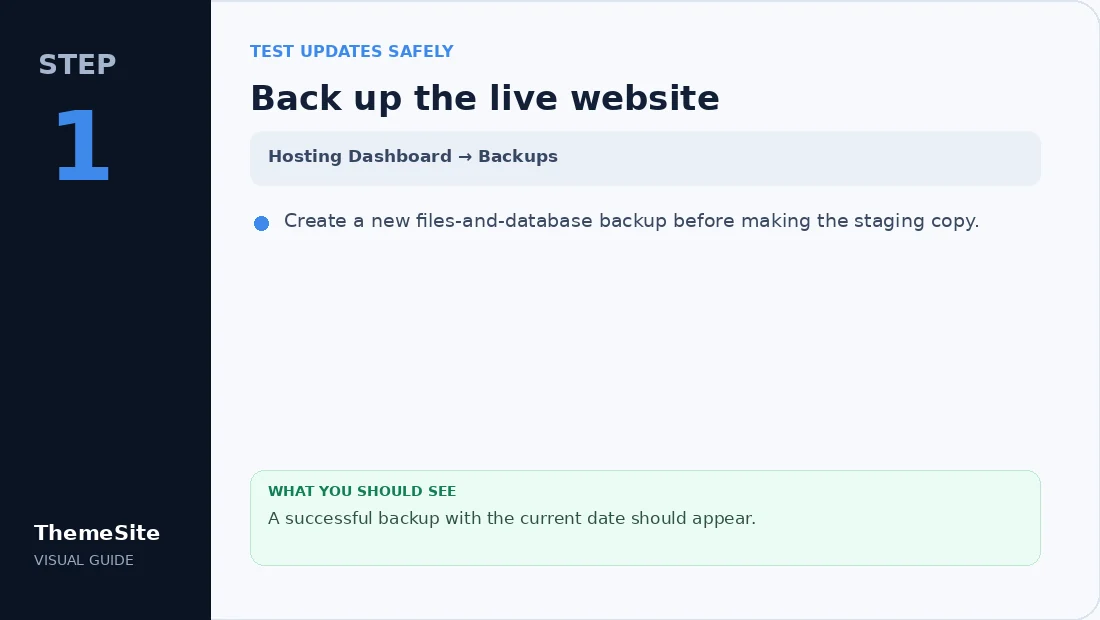
Step 1: Back up the live website
Create a new files-and-database backup before making the staging copy.
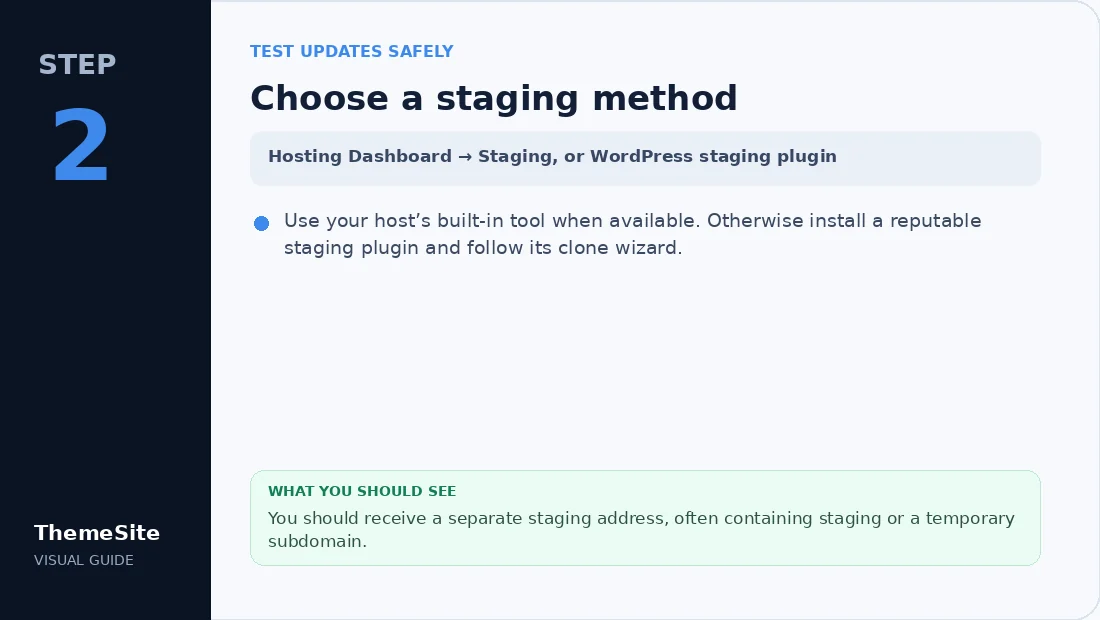
Step 2: Choose a staging method
Use your host’s built-in tool when available. Otherwise install a reputable staging plugin and follow its clone wizard.
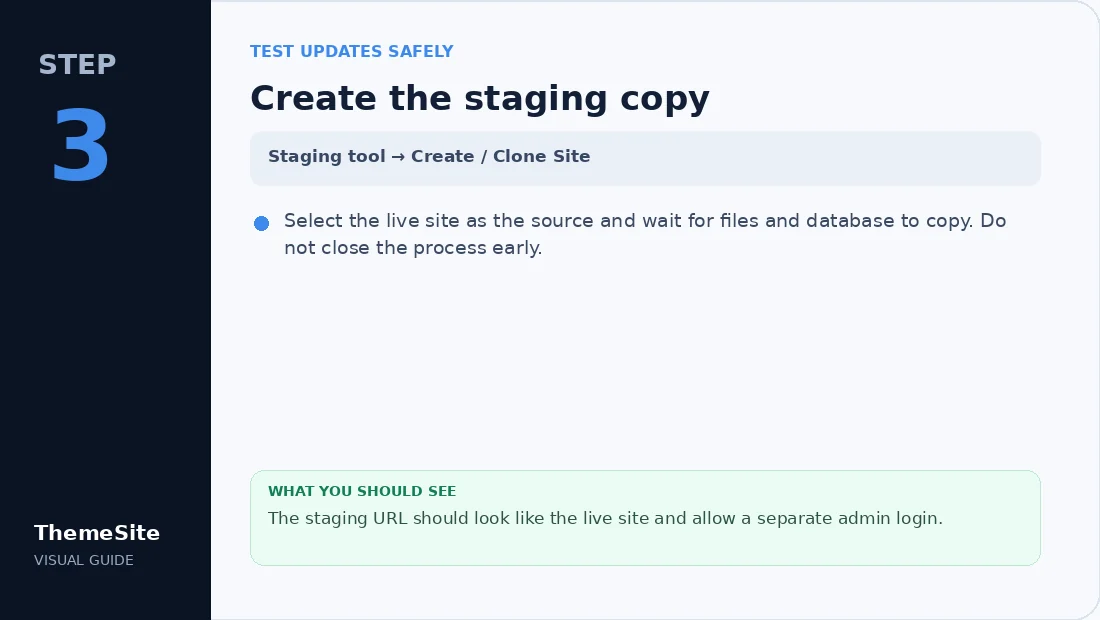
Step 3: Create the staging copy
Select the live site as the source and wait for files and database to copy. Do not close the process early.
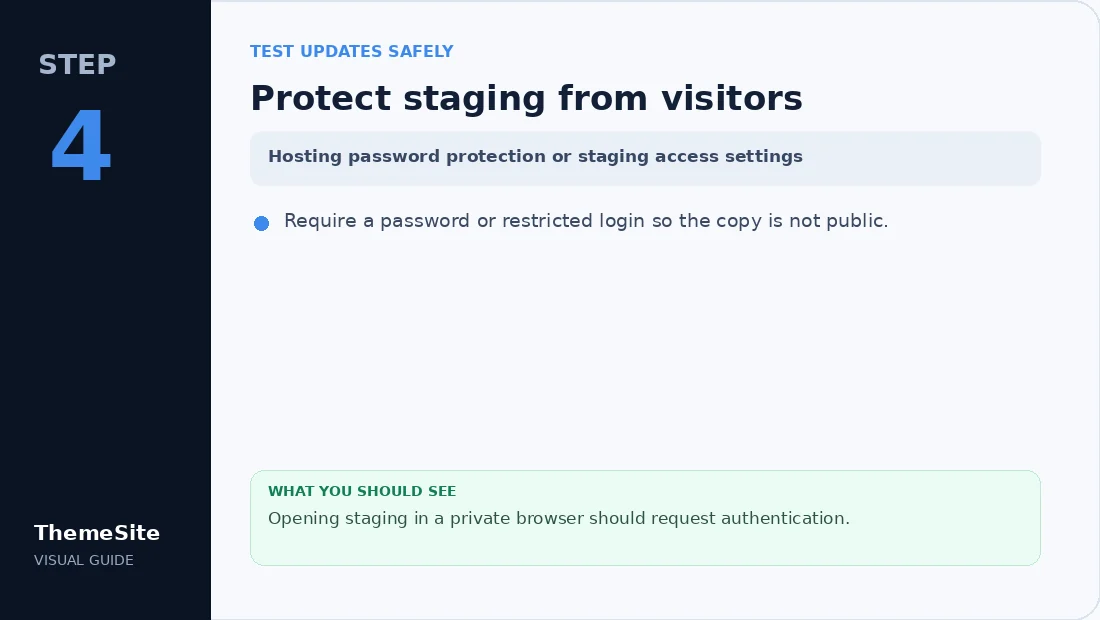
Step 4: Protect staging from visitors
Require a password or restricted login so the copy is not public.
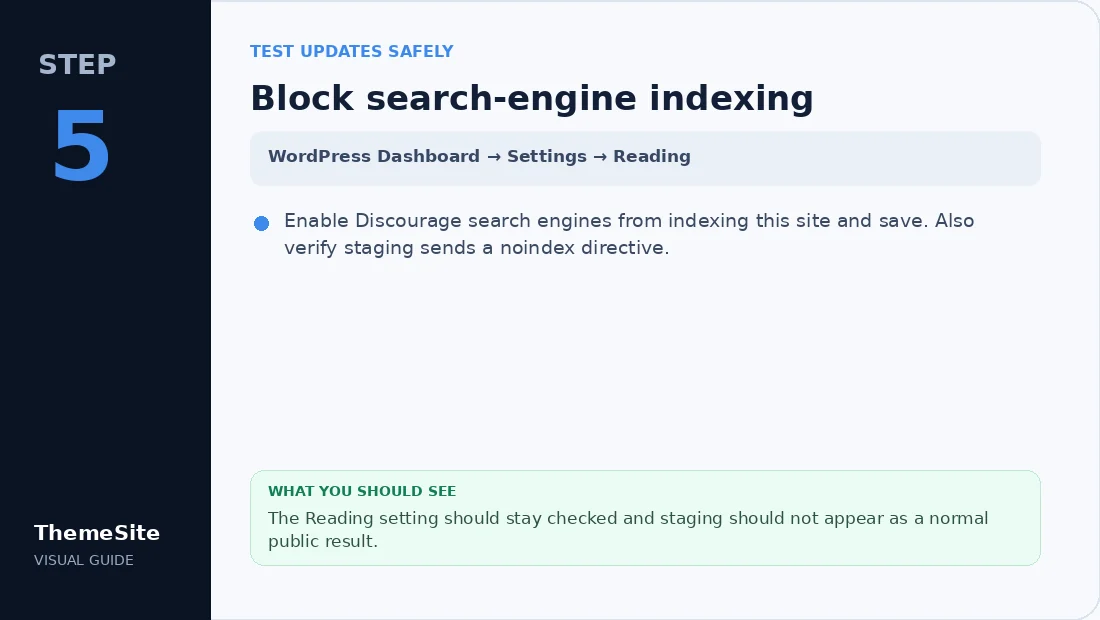
Step 5: Block search-engine indexing
Enable Discourage search engines from indexing this site and save. Also verify staging sends a noindex directive.
Step 6: Disable real-world side effects
Use test payments, stop live marketing automations and prevent staging emails reaching real customers.

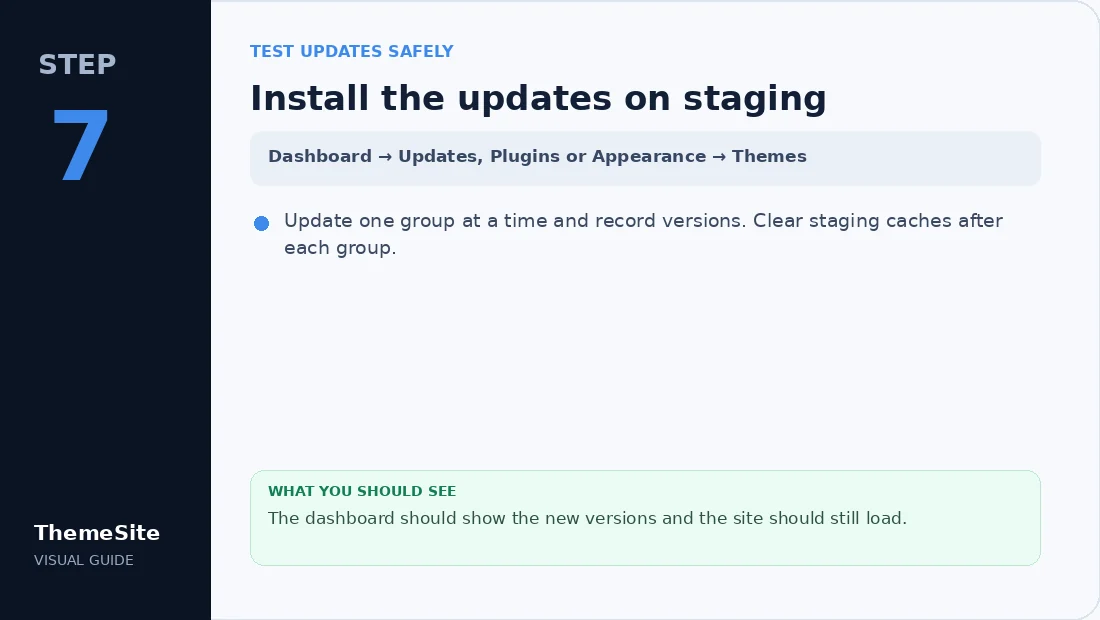
Step 7: Install the updates on staging
Update one group at a time and record versions. Clear staging caches after each group.
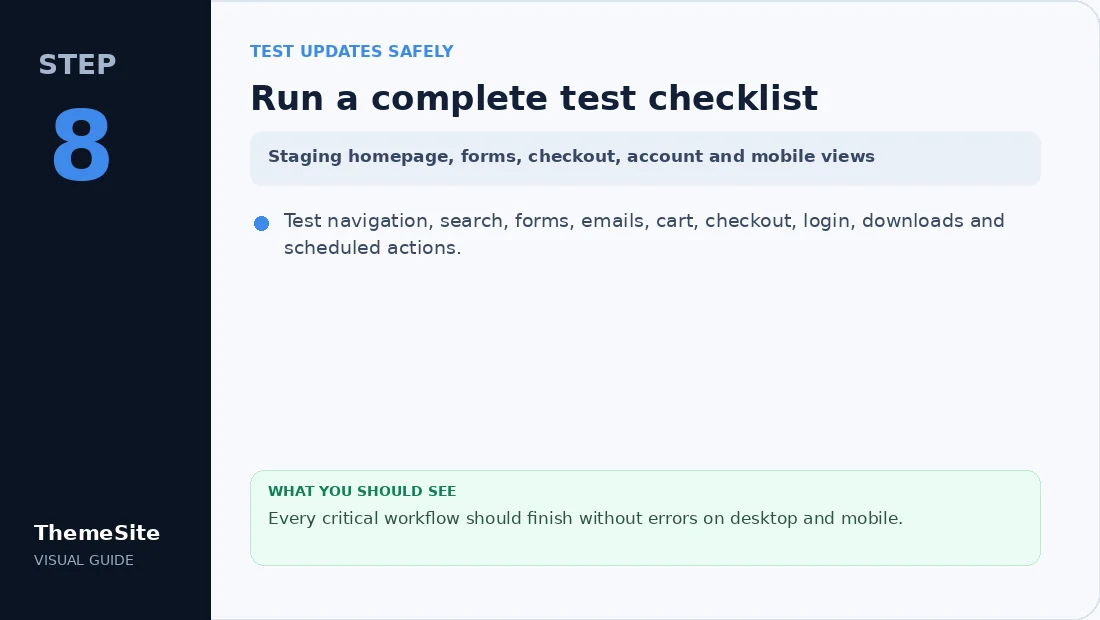
Step 8: Run a complete test checklist
Test navigation, search, forms, emails, cart, checkout, login, downloads and scheduled actions.
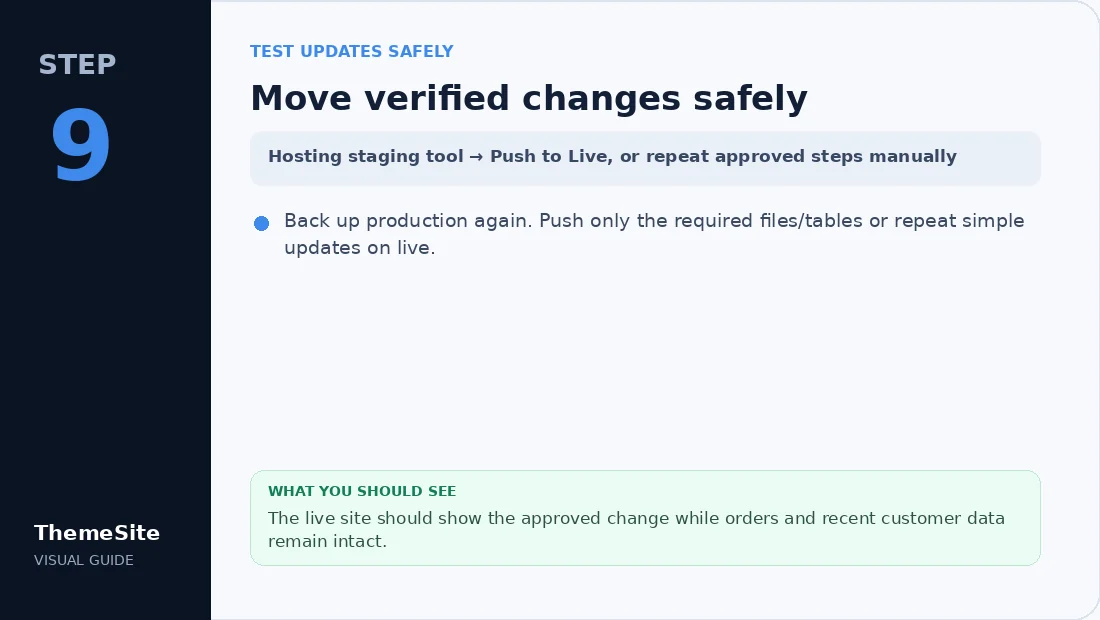
Step 9: Move verified changes safely
Back up production again. Push only the required files/tables or repeat simple updates on live.
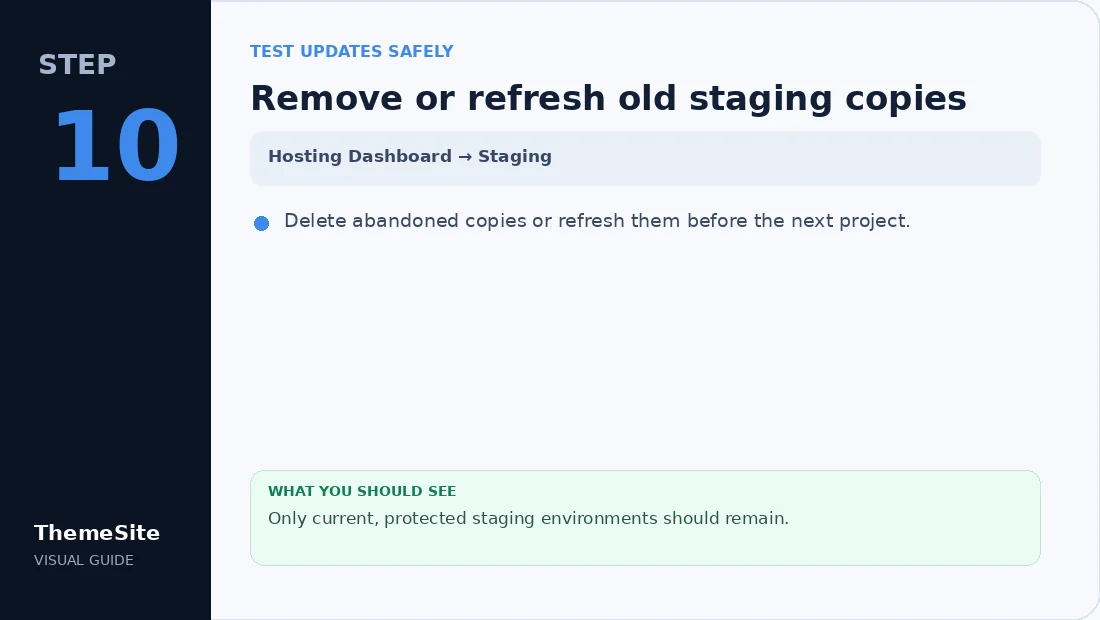
Step 10: Remove or refresh old staging copies
Delete abandoned copies or refresh them before the next project.
Why staging is safer than testing on production
A failed update on staging affects only the private copy. On production it can interrupt sales, forms, memberships and visitors. Explore Backup & Migration tools and keep a tested rollback before major updates.
What not to copy back blindly
Do not overwrite the live orders, customers, form entries or recent content with an older staging database. E-commerce and membership sites often require selective deployment.
Final verification checklist
- Production backup completed.
- Staging is password protected.
- Search indexing is discouraged.
- Payments and emails use test mode.
- Updates show correct versions.
- Forms, checkout and accounts work.
- Mobile layout works.
- Deployment did not overwrite new live data.
Frequently asked questions
Is a staging site visible to visitors?
It should be private and password protected, but you must configure those protections.
Will checking Discourage search engines guarantee privacy?
No. It is a request to crawlers, not access control. Use password protection too.
Can I push the complete staging database to a live store?
That can overwrite recent orders and customers. Use selective deployment or repeat approved changes manually.
Should I keep staging forever?
Keep it maintained and protected, or remove it when no longer needed to reduce security and storage risk.